INTRODUCTION
This Documentation guidance to update content for Studio 2.0 with step-by-step instructions and recommend the perfect image sizes for each section.
Before we can update the site content, we need to log in to the Studio admin. The Studio admin looks like the image below. After entering the correct user details, it will take us to the admin panel. From there, we can update the site content as needed.
After Successfully login
LOGO
To update the site logo, we have two options: update the image or the SVG. If both are uploaded, the system will prioritize the SVG logo. If the SVG logo is not found, it will then search for the image logo.
Here are the steps to update the logo:
-
Go to Appearance in side menu > Customize
 Cutomize
 -
Click on Site Identity option from the availabel option
-
In this step, you will find the option to upload images and SVG files.
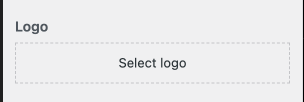 Click on select logo to upload imge
Please check the link for more details about the steps to upload an image How to upload Image
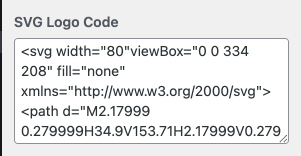 Paste the SVG logo code here
 -
After updating one of them field click on publish button
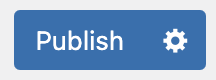 to update the logo
80px. and don't forget to add width attribute in
the SVG
Menu
We are using the same menu for both desktop and mobile, so any updates made from the admin panel will affect both platforms.
Here are the steps to update the Menu:
-
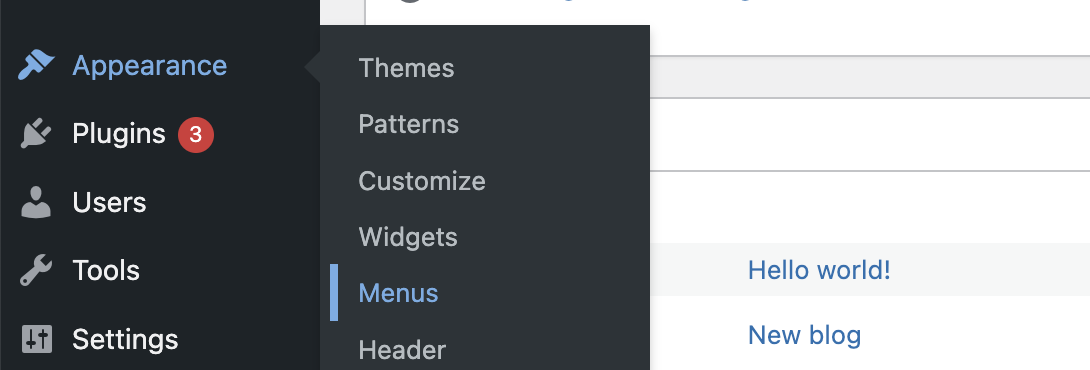
Go to Appearance in side menu > Menu
 Main menu
 -
Expand the Custom links and add the URL and link text and click Add to menu
-
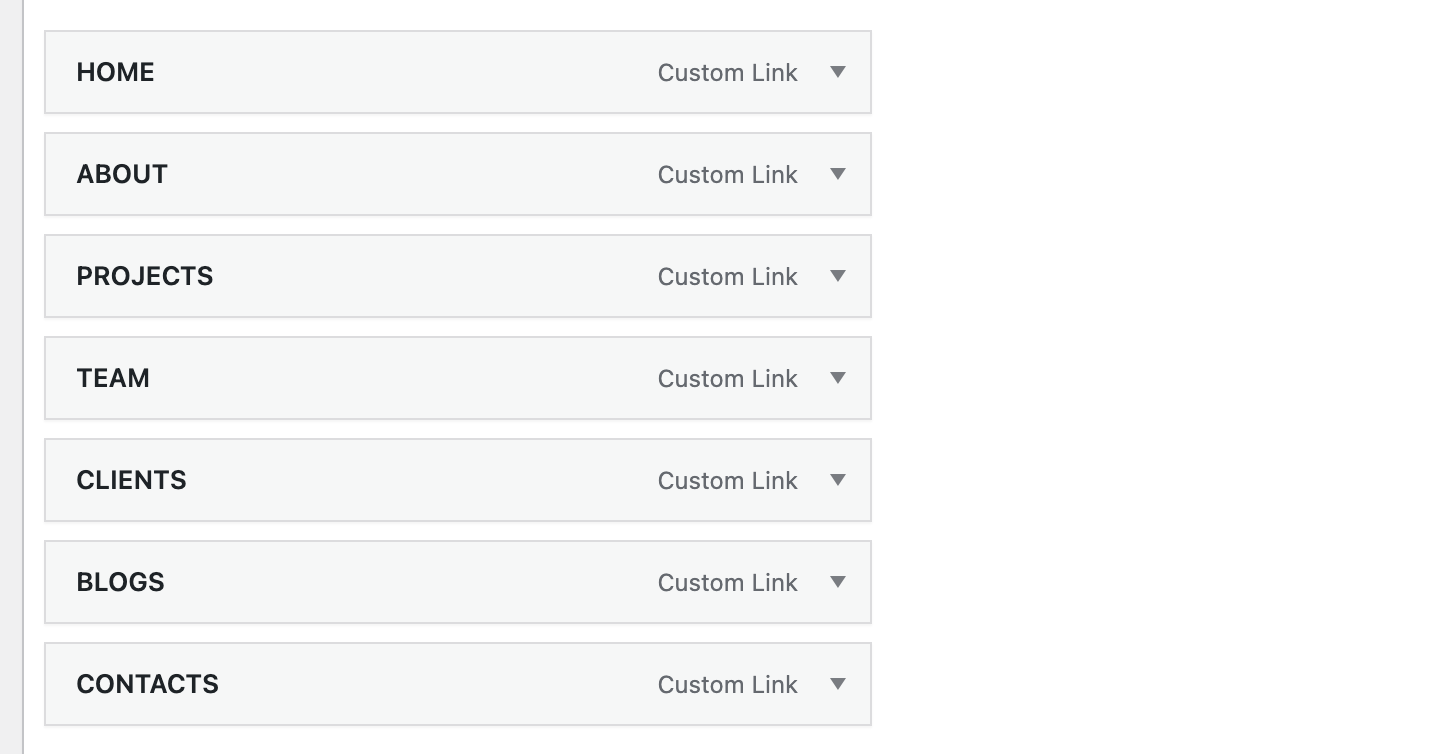
Recently added menu items will appear at the bottom of the menu list, similar to contacts in the image below. We can also arrange the menu order.
 Main menu
 -
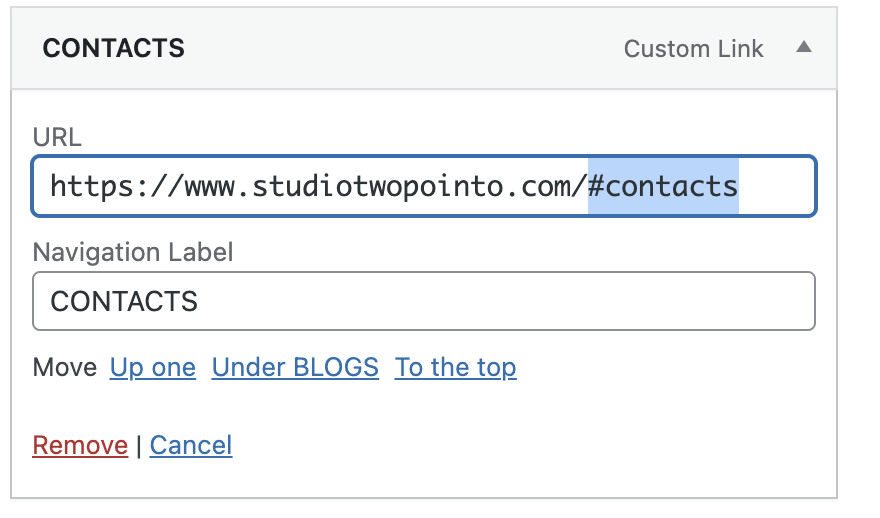
As our site has a single-page design, the menu links only scroll to particular sections instead of redirecting to another page. Therefore, we need to pass the section ID in the URL as a hash value, as shown in the picture below.
 Main menu
Available section hash values
#about,
#team,
#projects,
#latest-blogs, and
#contacts
Banner Slider
For the banner slider, we have a dedicated post type menu in the admin panel under Services. On the home page, we only display the title and a short description with a "learn more" button. By clicking on this link, users can discover more details about the project. Additionally, we have the ability to sort the position of the post according to the desired order.
To Create a new Services follow the below steps
-
Navigate to Services menu from the side menu and click on All Services and click on the Add New button link
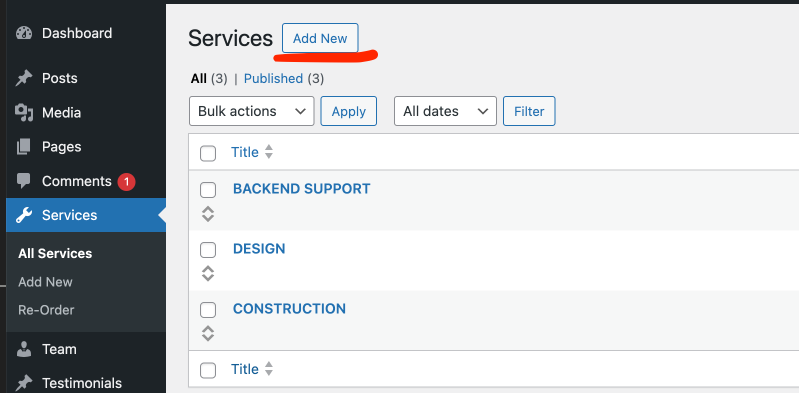 Create Services
 -
It brand new page where you can add the title
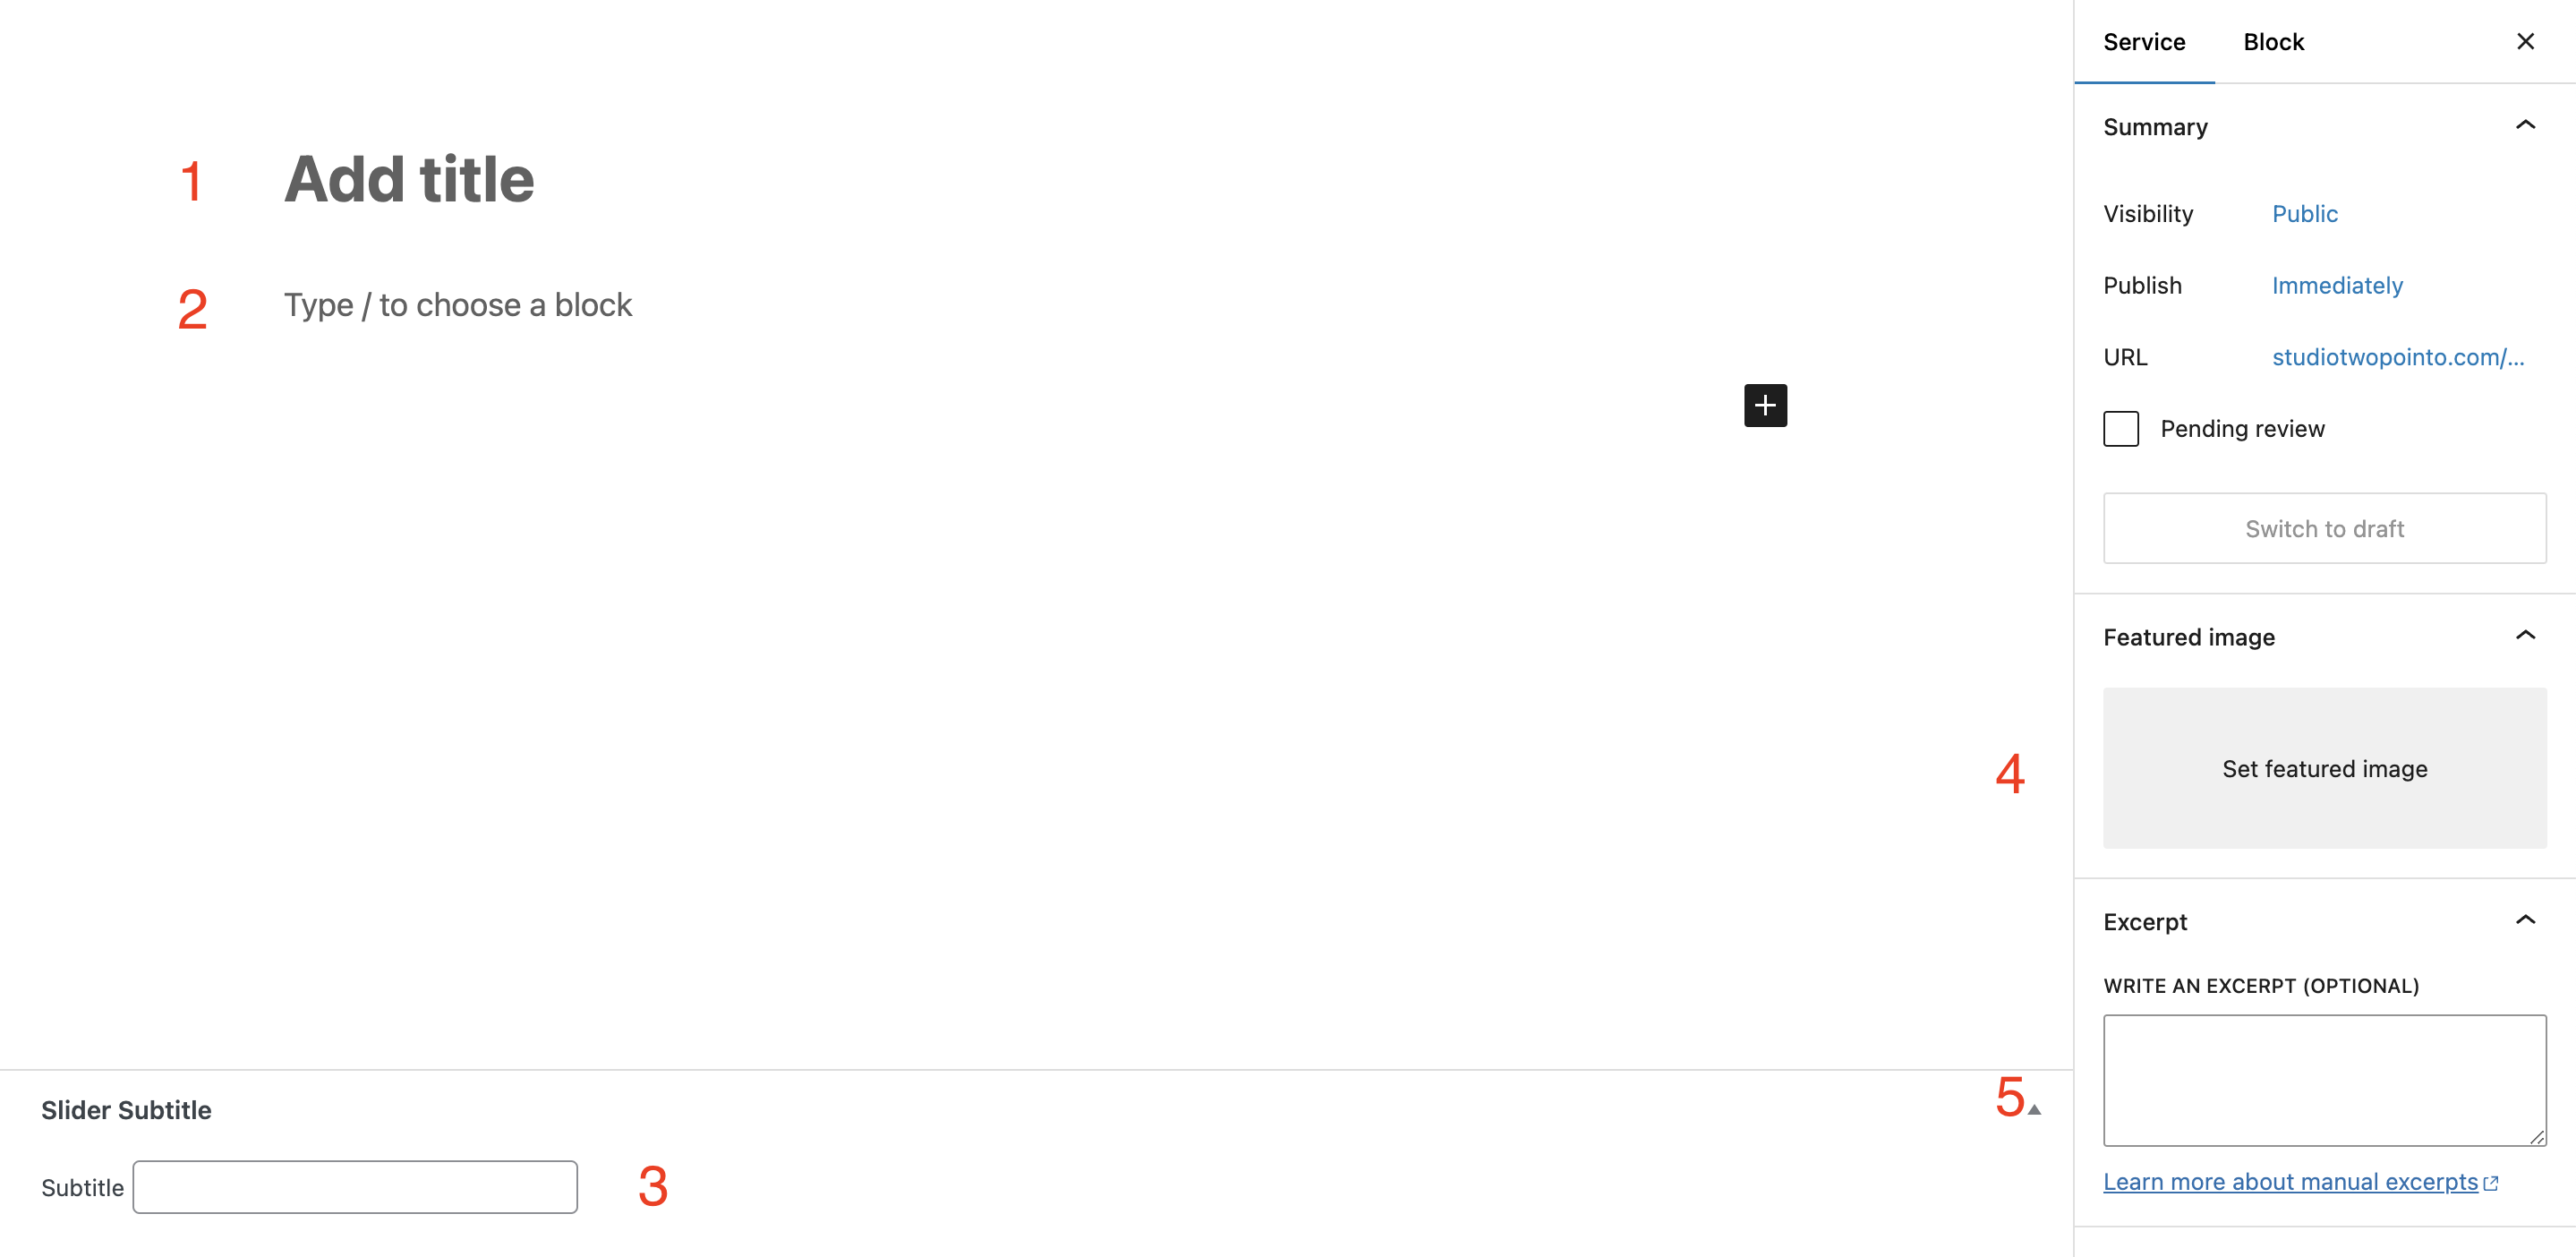 Services
1. Add the title of service
2. Add the description here or use the different component to add the more detail information. This will be visible only on detail page.
3. Add the sub title of the each service. For eg What we do
4. Option to add the image in service which will display on home page slider.
5. Write the short description about this service which will be show on homepage banner. try to write short text as much as possible. if user interest on that particular service then will get detail from the detail page after clicking on learn more button.
To Sort the services follow the below steps
-
Navigate to Services and click on Re-order
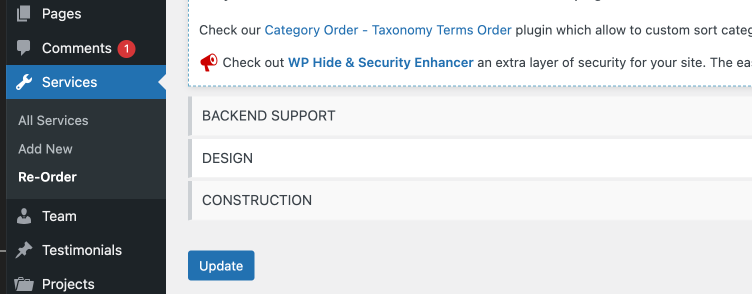 Sort Order
 -
It's will list the available services and you can sort according and Click Update button.
About Us
To update the content in the About Us section, you can find the option in the Customize section.
-
Go to Appearance in side menu > Customize
Cutomize -
Click on the About us option
 About us option
 -
List of options are appear to update the content. Fill the content according to your requirement and click on
button to update.
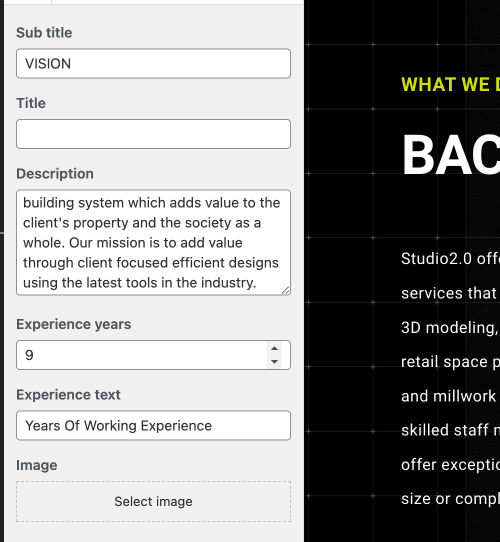 About us option
Latest Projects
To update project content, we have a dedicated option on the right-hand side menu called Projects. Within this option, there is an additional feature called Categories. This allows us to create the necessary categories and assign them to projects, enabling us to categorize projects under a single title.
Let's first create a category, and then create a project and assign it to the category.
-
Click on Projects menu and click on Categories option
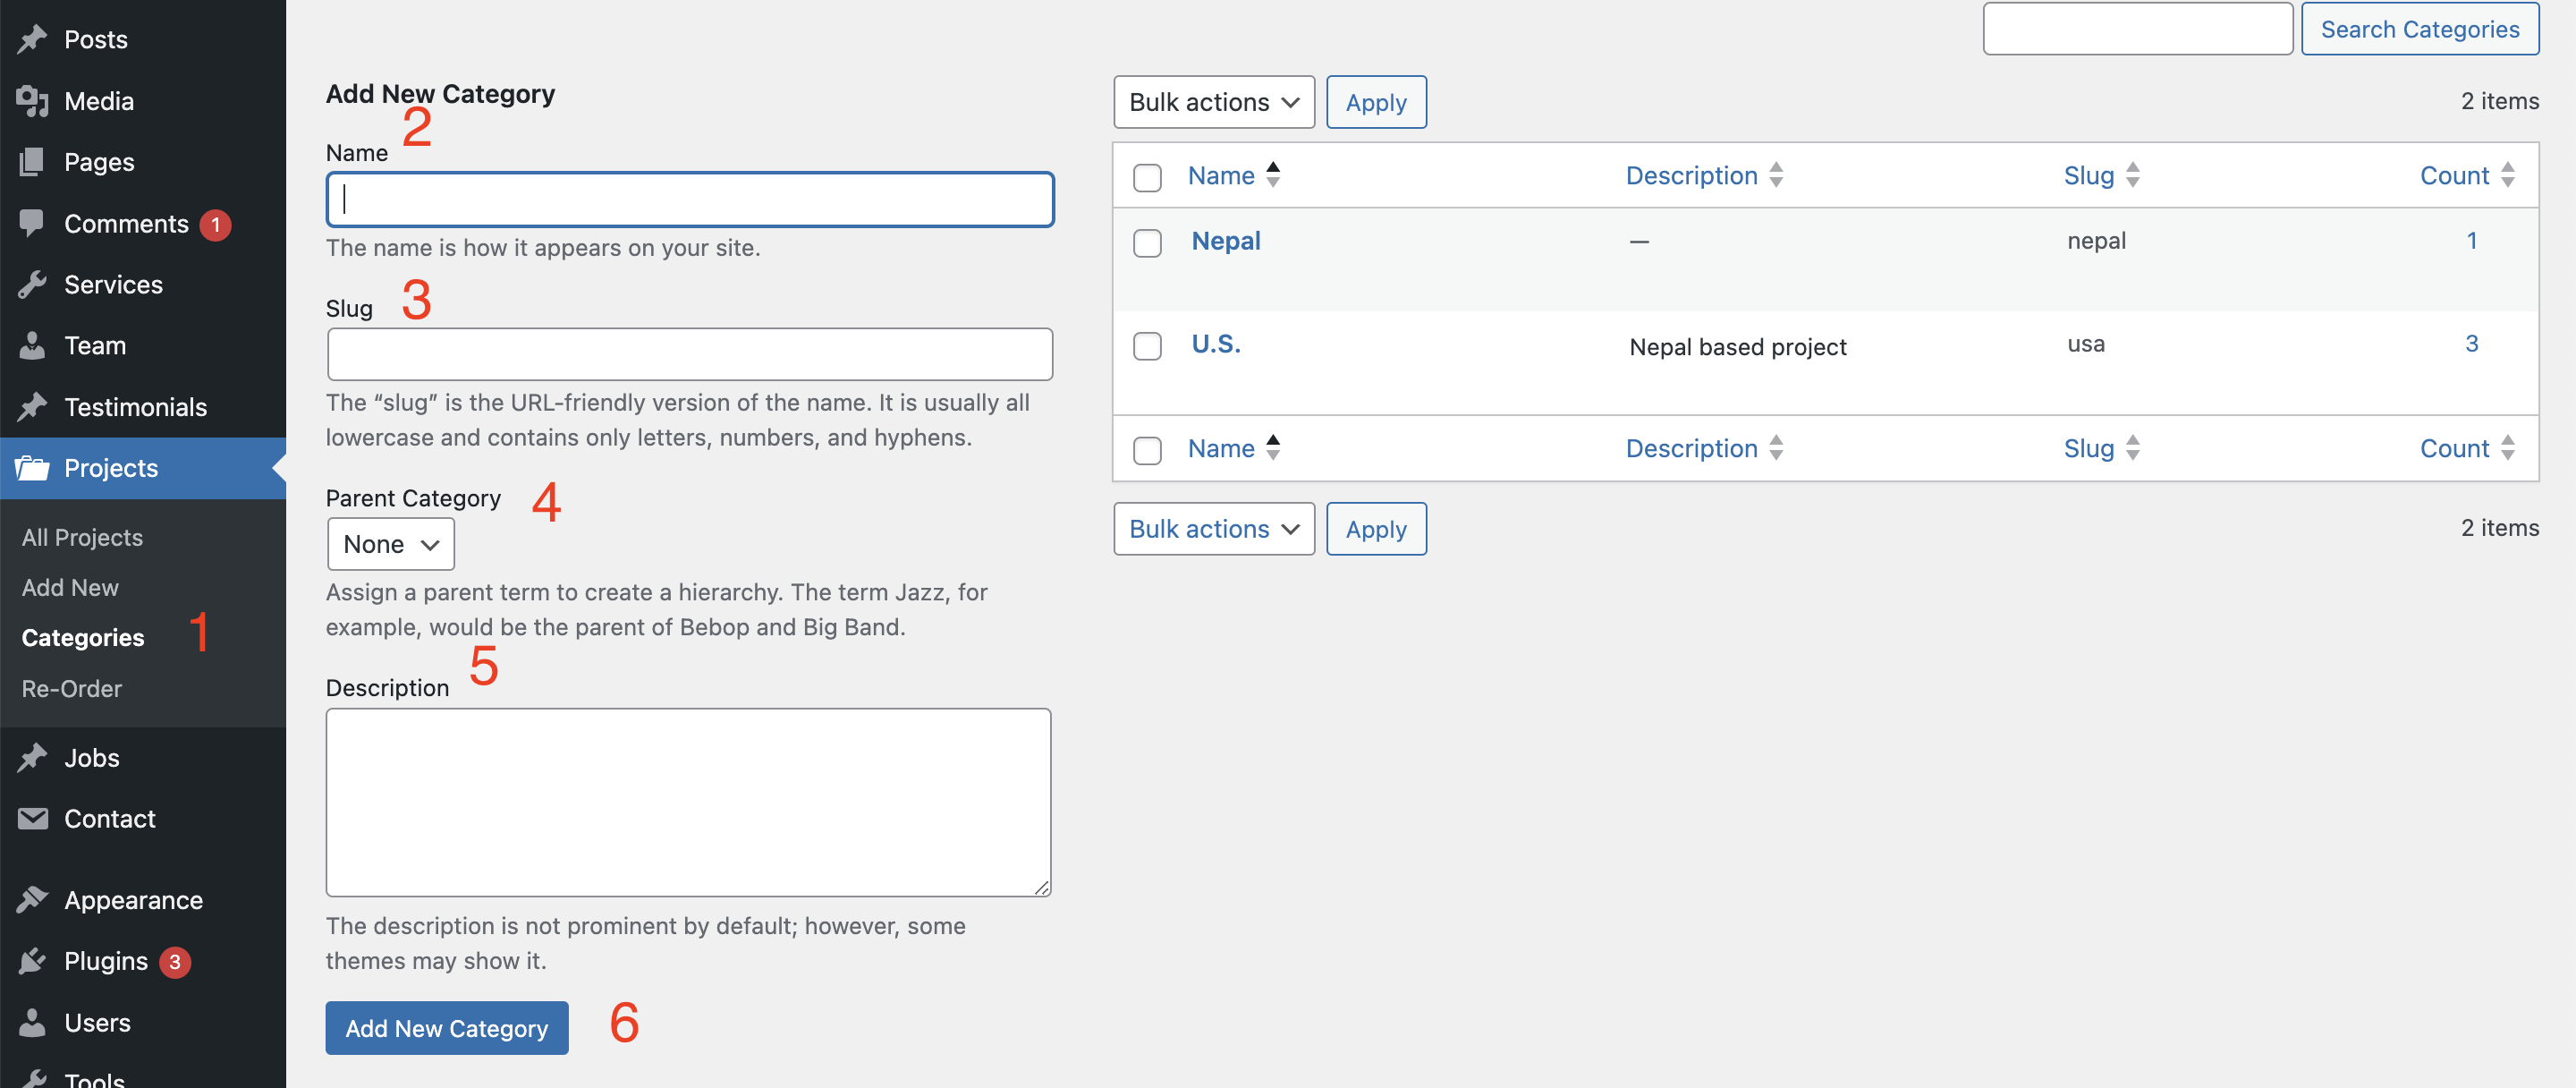 Categories option
Social media links
We have the options to update the social media links inside the Appearance > Costomize. Only those social media links with a value will be displayed.
Here are the steps to update the Social media links:
Go to Appearance in side menu > Customize
After that click on the Social media option
You will see the options to add the list of socia media links. After updating the value, click on the Publish button, and it will be reflected on the site.